







Mastering healer cooldown management in World of Warcraft is a distinct strategic progression path that separates “Reactive Healers” from “Combat Architects.” In modern encounters, raid damage is rarely random; it follows a deterministic timeline of “High-Pressure Windows.” For healers aiming to eliminate group wipes and reduce the stress of healing, developing a Cooldown Map forms a reliable framework for mastery. It is about understanding that your biggest spells are not “emergency” buttons, but planned interventions.

This guide examines how to approach healing throughput efficiently, focusing on the logic of “Damage-Event Mapping,” the mechanics of cooldown-rotation, and the strategic importance of assigning buttons to specific timestamps to ensure your group’s health remains stable.
The Logic of the Encounter Timeline
Every boss fight in WoW is a script of damage events. “Mapping” is the act of looking at a combat log or a guide and identifying exactly when the group’s health will drop. A successful healer doesn’t wait for the bars to turn red; they have a “Button Assignment” for the 0:45 mark, the 1:30 mark, and the 2:15 mark. This removes the guesswork from the encounter. When you know exactly which spell you are going to use for a specific mechanic, you can focus 100% of your mental energy on positioning and mana efficiency. You stop “reacting” to damage and start “denying” it.
Core Tactics: Categorizing Throughput, Utility, and Externals

To build an effective map, you must categorize your toolkit into functional “Response Tiers”:
- Tier 1 (The Big Three-Minutes): Spells like Tranquility, Divine Hymn, or Revival. These are your “Map Anchors.” They must be assigned to the most lethal, group-wide damage phases. Usually, you only get two uses per fight, so their placement must be precise.
- Tier 2 (The One-Minute Rotations): Short-CD bursts like Power Word: Radiance or Wild Growth. These fill the gaps between Map Anchors. Your routine should involve “cycling” these so that one is always available for minor mechanics.
- Tier 3 (External Mitigation): Ironbark, Pain Suppression, or Life Cocoon. These are not for group damage, but for “Tank-Busters.” Your map must include a secondary track specifically for the tank’s survival, synchronized with the boss’s heavy-hit timer.
Managing Cooldown “Greed” and Overlap
The greatest enemy of a healer map is “Cooldown Overlap”—where two healers use their Big Tier-1 buttons on the same mechanic. This leaves the group vulnerable for the next phase. To counter this, you must use a “Healer-Lead” or an addon like MRT (Method Raid Tools) to visually coordinate with your partners. Assigning “Healer A” to mechanic one and “Healer B” to mechanic two is the single most effective way to beat difficult bosses. Mastery of this social coordination ensures that your group’s “Survival Floor” is always covered, regardless of how messy the fight becomes.
Establishing the “Mana-Pacing” Plan
The final phase of cooldown mapping is mana management. Your map should tell you not just *what* to press, but *when* you can afford to be aggressive. If your map shows a long period of low damage, that is your “Conserve Window” where you rely on cheap, slow heals. If a High-Pressure Window is coming, that is your “Spend Window.” By aligning your mana consumption with your cooldown map, you ensure you never run dry at 10% boss health. Integrating these mapping habits into your routine ensures that you are always the most prepared player in the raid. Plan the heal, heal the plan.
Conclusion: Victory Through Planned Intervention
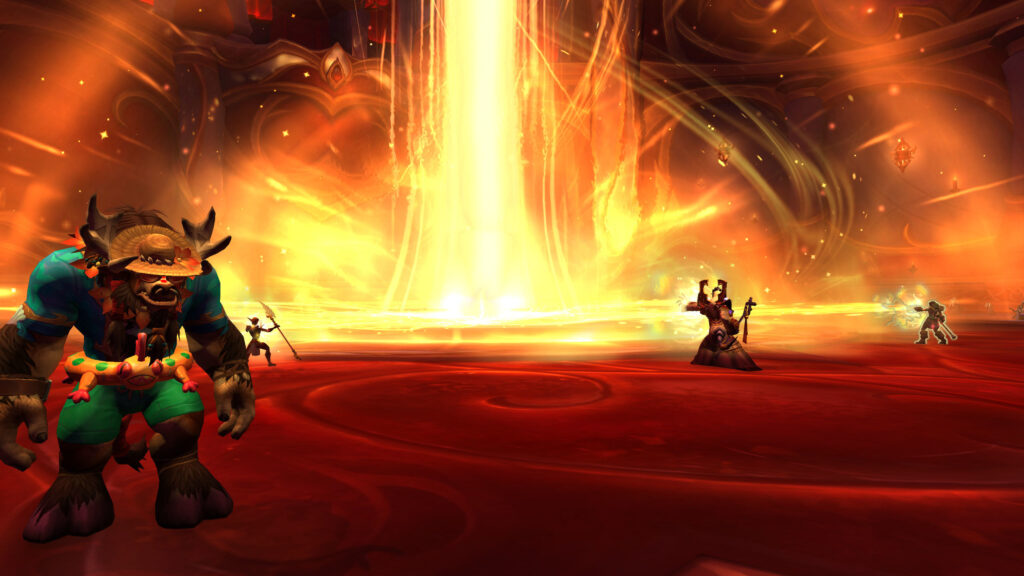
Healer cooldown mapping rewards the organized and the proactive. By assigning specific buttons to a predictable timeline, you eliminate the chaos of high-damage phases. Integrating these mapping habits into your routine ensures that your group’s health is a managed variable, providing a stable path to high-level mastery through superior healing coordination.